Search the Community
Showing results for tags 'honda engine d16'.
-
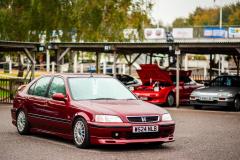
Finally getting around to a build thread for my third car It all started on a dull early may day. A Friend of mine messaged me, asking if I needed any parts from her MB4 before she scrapped it. It had been sitting on her drive since she her daughter had been born. I said to her, "let me know what the scrappy offers, and i'll chuck £50 on top and come grab it", knowing that the d16w4 powerplant in this could replace my lathargic D14 in my MB2 The next day me and a mate collected it, threw some trade plates on and ran up to my workshop. Even with the old 4 speed slush-box, and a years neglect, the MB4 walked away from my MB2 on a straight bit of road. Once we arrived, my friend parked the car up and then headed home. I then stood and had a smoke, looking at this car having a "Wangan midnight" esque moment, seeing the colour of the Sicilian Red paint for the first time. Plans had changed. (see attached image) Rust and engine work: First I got the car up on stands and made a list of everything wrong with it. The rear passenger sill and inner arch passed the good old screwdriver test, however the driver's side failed miserably, along with a few places around the front jacking point, and front inner arch. Out came the grinder, welder, and some conveniently shaped and cut sheet metal that I would be using to patch these big holes. This was a steep learning curve, as I have only ever done agricultural welding, and never thin bodywork. Once the rust was dealt with next came the auto box - I had never planned to keep this gearbox, so the hunt for an s20 close ratio box began. During this time, the auto box, torque converter and PRND lever were all disposed of in an appropriate fashion (Thrown into a skip as fast as humanly possible🤣), meanwhile, the engine was suspended by a ratchet strap around 2 on the gearbox bolts, and a random 2x4 i had laying about across the wings (See attached) Whilst the box was off, I decided to replace the rear main seal, sump gasket, and clean out the oil pickup tube. A few shiny parts were fitted during this time too, including an oil sandwich plate with senders for both oil pressure and temp, HKS oil filter, TTV flywheel and an exedy stage 1 clutch. Once I sourced a box, the new mounts were fitted up and after a copious amount of faffing around the engine and box were in. (I wish I had an engine crane!!) I altered the wiring on the PRND plug to disable the inhibitor switch, as well as the reverse lights. I finished under the bay by rebuilding the distributor, replacing the plugs and HT leads. I also added a bus bar to the firewall as my battery was going to be boot mounted. I am using a Janspeed 4-2-1 manifold, a smashed out OEM cat shell and a Skunk2 megapower exhaust system. I have a Whale pen15 air intake as well. Interior: This car had a creme interior, which I knew wouldn't survive me daily driving it. I quickly tore this out, installed a load of sound deadening and the various wires i'd be needing for my ICE setup, then fitted a black carpet and VTI "bus seat" interior. I mounted the battery and circuit breaker in the spare wheel well, as well as a power distribution block. this would be needed when I got around to building the boot and fitting my 3 amps. I finished the interior off with an oil pressure and temperature gauge set, a fire extinguisher, and an old school pioneer flipout headunit + DVD player. Exterior: The exterior is largely untouched, as it is the rare sicilian red pearl colour. This car was factory specced with a full VTIs kit and Jordan wheels. The jordan wheels went onto my other MB2, so that I could fit my 15" TSW imola wheels. I welded the rear wiper hole up, and the old spoiler holes. I then fitted an "auto spoiler", which had been preiovsly fitted to a friend's recently imported 200sx. This was an almost perfect colour match.
- 8 replies
-
- 4
-

-
- honda civic mb
- honda civic mb4
-
(and 2 more)
Tagged with:
-
Hi. Been told by Dave to get some pics of my car up so here it is. [attachment=2]1Dawns Civic Aerodeck site.JPG[/attachment] [attachment=1]2Dawns Civic Aerodeck site.JPG[/attachment] And an arty one! [attachment=0]Dawns Civic Aerodeck.jpg[/attachment] It's a 1.6ES, so it has full leather interior, A/C, etc. I'm only the 2nd owner, so everythings as it should be! I put it into Honda to have the proper Honda front fog lights fitted, the Honda sunroof wind deflector and got an MP3 stereo too. Just wanting to change the wheels now. Love my aero to bits
- 917 replies
-
- 1
-

-
- honda civic mc1
- honda civic aerodeck
- (and 7 more)
-
- 2 comments
-
- 2
-

-
- honda civic ma
- exterior
-
(and 1 more)
Tagged with:
-
- 3 comments
-
- 3
-

-
- honda civic mb4
- honda engine d16
-
(and 2 more)
Tagged with:
-
Hi everyone, I am the owner of a Civic MB1, I need to correct the convergence (toe angle), but I can't identify which point needs to be worked on, I also looked at the exploded views on the HONDA website with the OEM codes but not I can't find anything that can help me. Can any mb1 owner help me? My tires are wearing out internally and I need to get the job done as soon as possible.. thanks in advance
- 1 reply
-
- honda civic mb1
- honda engine d16
-
(and 1 more)
Tagged with:
-
Hi, I'm Patrick and this is my '96 Fastback which bought in late 2019 as my first car. Or at least how it looked a few years ago. Lots of stuff has been done to it since then and I will try my best to dig up some pictures of the process as we catch up to the present. :) The previous owner, who bought it brand-new, was an old man and pretty much all the dents are his work, by the way. Just wanted to clarify. ;) It is (was) a bone stock, base-spec, MA8 with the optional 'Comfort' package installed from factory. Meaning it's got a 1.4l engine that makes 90hp, electrical windows in the front, power steering, A/C and no ABS, with drum brakes in the rear. Oh, and that atrocious fake wood that fools absolutely nobody and looks cheap as hell. What were they thinking? Oldest pictures I could find, was already on some lowering springs by then. Also removed some fugly flower-stickers from the doors and got rid of the 'Comfort' badges. Like every responsible young man before me, I of course immediately went ahead and installed some lowering springs and got myself a nice, quality exhaust. The springs are from Eibach and, if memory serves me right, the exhaust is made by a Polish company called 'Ulter'. We did some proper maintenance, though. You need a good foundation to build a house, right? That, and my old man never would have let me get away without doing some maintenance anyways. :P Beauty shot of the freshly unboxed exhaust. The exhaust arrived on a weekday at around 7PM and me and my old man got giddy like a bunch of kids on christmas eve as we put or grubby hands on it. We immediately went out into the freezing cold to get it installed ASAP. :D Roughly an hour later we were done and it felt like it was the coolest car on the planet for that moment. If I only knew what was to follow... ;) Might be able to find a video, but no promises. In the next episode...! Broke 18 year old me finally saves up enough money to get a set of wheels. And...! Something big on the horizon.
- 41 replies
-
- 4
-

-
- honda civic ma8
- honda engine d14
-
(and 2 more)
Tagged with:
-
- 2 comments
-
- 1
-

-
- honda engine d16
- exterior
- (and 7 more)
-

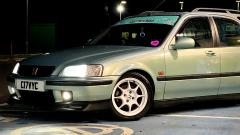
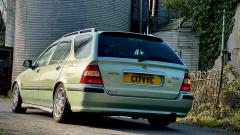
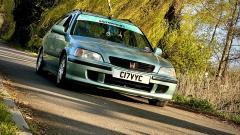
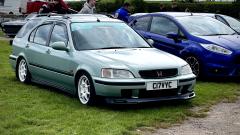
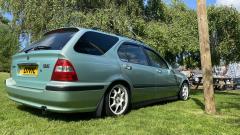
modified Civic Aerodeck Heart Exhaust
Paricyte posted a gallery image in Showcase Members Car Gallery
- 1 comment
-
- 3
-

-
- honda engine d16
- exterior
- (and 6 more)
-

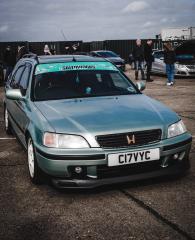
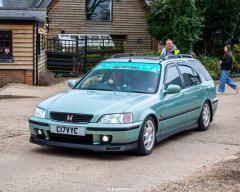
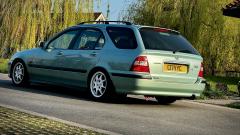
modified Civic Aerodeck at Flashcars UK meet
Paricyte posted a gallery image in Showcase Members Car Gallery
- 1 comment
-
- 1
-

-
- honda engine d16
- exterior
- (and 6 more)
-
- 1 comment
-
- 2
-

-
- honda civic ma
- engine
-
(and 1 more)
Tagged with:
-
-
- 1
-

-
- honda civic mb
- honda civic mc
- (and 6 more)
-
-
- 1
-

-
- honda civic mb
- honda civic mc
- (and 7 more)
-
-
- 1
-

-
- honda civic mb
- honda civic mc
- (and 6 more)
-
-
- 1
-

-
- honda civic mb
- honda civic mc
- (and 7 more)
-
-
- 1
-

-
- honda civic mb
- honda civic mc
- (and 7 more)
-
-
- 2
-

-
- honda civic mb
- honda civic mc
- (and 7 more)
-

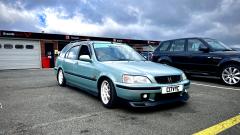
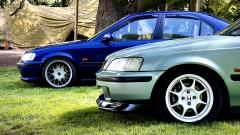
Civic Aerodeck and Hatch at Caffeine and Machine
Paricyte posted a gallery image in Showcase Members Car Gallery
-
- 2
-

-
- honda civic mb
- honda civic mc
- (and 9 more)
-

CD6AAC44-645B-4E1A-BA40-817E0172A7EF.jpeg
Paricyte posted a gallery image in Showcase Members Car Gallery
-
- 2
-

-
- honda civic mb
- honda civic mc
- (and 7 more)
-

BD0247C6-D143-4F3A-9198-5F024A056B8D.jpeg
Paricyte posted a gallery image in Showcase Members Car Gallery
-
- 2
-

-
- honda civic mb
- honda civic mc
- (and 7 more)
-

8A3F3D97-1BC3-4A7F-968C-C7FFFA34C7D3.jpeg
Paricyte posted a gallery image in Showcase Members Car Gallery
-
- 2
-

-
- honda civic mb
- honda civic mc
- (and 7 more)
-

DBFD48AD-6A8B-4590-BA29-9709CC69E9CF.jpeg
Paricyte posted a gallery image in Showcase Members Car Gallery
-
- 2
-

-
- honda civic mb
- honda civic mc
- (and 7 more)
-

EEA71851-1F78-44C4-A389-6E930623D180.jpeg
Paricyte posted a gallery image in Showcase Members Car Gallery
-
- 2
-

-
- honda civic mb
- honda civic mc
- (and 7 more)
-

B3BFC075-2385-49A9-B2C7-3C68750BDEDA.jpeg
Paricyte posted a gallery image in Showcase Members Car Gallery
-
- 2
-

-
- honda civic mb
- honda civic mc
- (and 7 more)
-

9A332532-92D7-4DA0-9A5A-470EFBF40B36.jpeg
Paricyte posted a gallery image in Showcase Members Car Gallery
-
- 2
-

-
- honda civic mb
- honda civic mc
- (and 7 more)
-

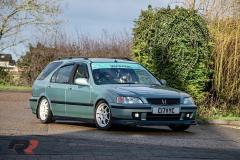
modified Civic Aerodeck at Caffeine and Machine
Paricyte posted a gallery image in Showcase Members Car Gallery
-
- 1
-

-
- honda civic mb
- honda civic mc
- (and 6 more)

